
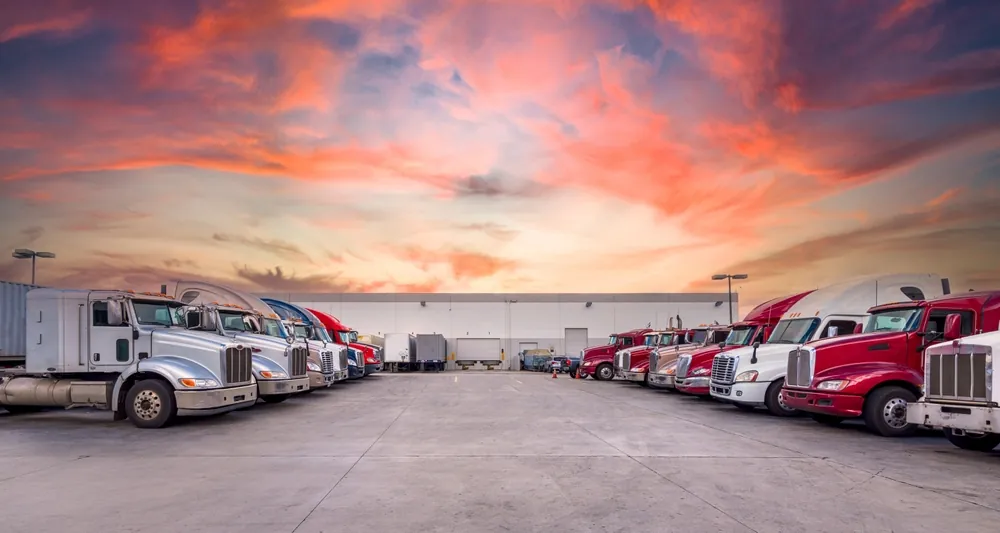
LTL Shipping Checklist Step 1: Package Your Cargo Properly
It is essential to know how to send pallets to FBA properly. Following FBA guidelines will help ensure low costs. When you choose to use FBA (Fulfillment by Amazon) services, you are handing over the shipping process to one of Amazon’s 75 fulfillment centers. By using FBA, shippers can relax and have the peace of mind that their product(s) will arrive at their destinations safely and cost-effectively.
Providing details of your product will help you determine the suitable shipping methods. This will allow you to pay the lowest cost according to Amazon’s current pricing structure. Amazon FBA has a straightforward pricing structure. You pay $2.49 per unit for Amazon to store your product in their fulfillment centers, and they also handle all of the shipping and customer service for you. There is no monthly or annual fee, so you only pay when you make a sale. Additionally, you must ensure you read all the fine print, considering any potential additional costs.

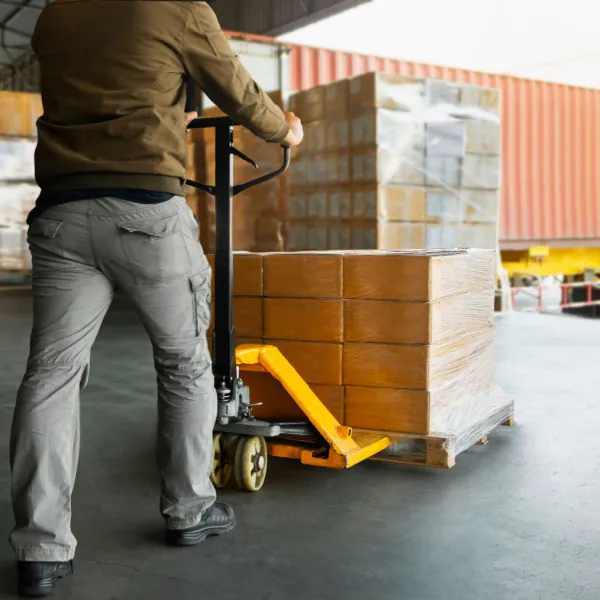
Pallets are your best friend.
Pallets allow forklifts and pallet jacks to load and unload your cargo quickly. When measuring the dimensions of a palletized shipment, the length and width should be the same as the length and width of the pallet. Why is this important? Because your cargo cannot hang over any of the edges of the pallet. The height is a straight line from your cargo’s highest point to the bottom of the pallet, where it touches the floor.
Know what packaging materials you need.
An inventory of internal packaging materials like packing peanuts or bubble wrap and external packaging materials like shrink wrap, cardboard boxes, and crates will help you move and ship more efficiently. You won’t have to scramble to find the materials you need.
Download our free comprehensive packaging guide.
We created a Guide to Freight Packaging, a complete dive into the world of LTL freight packaging. Our free guide includes more best practices, helpful resources, and information on packaging materials in one place. Keep it handy when you are packaging your freight.

Step 2: Measure & Weigh the Packaged Cargo
After packaging your cargo, the next step is correctly measuring and weighing your packaged freight. These details are essential because carriers verify all information regarding weight and measurements using their sophisticated equipment. If the carrier’s weight or measurements differ from what the customer initially reported, the customer will receive a billing adjustment after completing the shipment. Suppose discrepancies exist between the customer-provided Bill of Lading (BOL) information and the carrier’s weights/measurements. The airline will issue a billing adjustment for the difference in that case.
Vital freight measurements to keep in mind when measuring your cargo. Please understand measurement factors such as actual weight, dimensional weight, and density, how they impact your shipment’s cost, and what services/carriers best fit your needs. These factors play into whether or not you’ll need overlength shipping or what your freight class will be.
Regarding weight, it is best practice to always weigh your packaged freight on an industrial freight scale at a local junkyard, shipping depot, or warehouse. You might consider investing in a personal industrial freight scale if you ship freight often. While an industrial freight scale is a considerable expense, consider the benefits of the investment, such as lowering billing adjustments, getting your freight weight accurate before shipping, and having the scale ready for use whenever you need it.

Step 3: Insure Your Shipment
All too often in the freight world, cargo gets lost or damaged. Being covered in the event of such unfortunate cases is essential. Every carrier offers “basic” coverage, known as limited liability coverage. For some shippers, this is enough, but this level of coverage doesn’t necessarily reflect the total value of your item and is determined based on flat rates or the weight and freight class of your shipment.
Purchasing freight insurance provides additional coverage above and beyond the carrier’s default protection policy. These independent policies can protect the total value of your shipment and remove the need to prove liability if any damage or loss of cargo occurs. For many shippers, purchasing an independent freight insurance policy gives them peace of mind because they don’t have to worry about their shipment.
Ensure you have all your bases covered and understand everything you need about freight insurance to pick the right coverage option.
Step 4: Understand Accessorials
It’s prevalent for shippers to need or require services beyond the basic curbside pickup and delivery, which is an SOP for carriers. Most shippers don’t even know they may need additional assistance, and often, they end up with a surprise billing adjustment after their shipment has been delivered. These other services are called accessorials or add-ons and come in all shapes and sizes. What you may think is a part of the primary or included shipping services could cost you a lot of money.
Ask yourself a few questions, like:
- – Is the delivery or pickup location residential or limited access location?
- – Will the shipment require a liftgate to load or unload from a truck because there is no loading dock or forklift at the pickup/delivery location?
- – Do you or the person receiving the shipment need inside pickup or delivery?
If you answered any of the above questions with “yes” or “maybe,” you will need an accessorial from the beginning of your freight quote process. Other accessorials include white glove services, first mile/final mile services, and special handling services.
We know there are many accessorials, and you may want more detailed information. Download our LTL Shipping Checklist for a complete overview of some of the most common accessorials.
Step 5: Booking
Paying for your shipment is part of the booking process. When booking with FreightCenter, once payment has been received, your shipping agent generates an email for you with all the paperwork you will need, including:
- – Terms and Conditions.
- – Bill of Lading (2 copies).
- – Shipping labels (2 copies).

Step 6: Attach Labels to the Package
Attach the two shipping labels provided by FreightCenter to your package: one on the long side and one on the short side. Please make sure they are visible and accessible to read. Add a coating of clear packaging tape over the labels to ensure they do not become loosened from the package. This will also help protect your labels from the elements. Check out our LTL Shipping Checklist for more details.
Step 7: Be There When the Truck Arrives
Pickup times are requests, not reservations. If you need your shipment picked up on a particular date or time, you must book that with your agent. Extra charges will apply. Freight is usually picked up in the afternoon and delivered in the morning. When the truck arrives to pick up your shipment, you (or your authorized representative) must meet the car. If no one is there, the pickup must be rescheduled, and additional charges will be added.
If you are working with FreightCenter, remember: Giving the driver the FreightCenter BOL is essential. If you don’t, the carrier will not process your order with the discounts FreightCenter has secured on your behalf.
Step 8: Review Delivery Steps with the Consignee
Continually review, and the consignee is the person or company that will receive the delivery of your shipment. Once you have booked your shipment, please send photos of your package to make it easy for the consignee to check for damage. Suppose the package is damaged or less freight is delivered than expected. In that case, the consignee should note the damage or shortage on the Proof of Delivery receipt provided by the driver before accepting delivery of the shipment. Seemingly minor damage like dented, torn, ripped, crushed, or broken shrink wrap, boxes, pallets, or crates need to be noted. Ensure the consignee understands they must be there to accept delivery on the date and time specified by the carrier.

We’ve got you covered if you’re looking for a concise, comprehensive checklist to print out and put on the fridge Shipper’st your desk. Download our LTL Shipper’s Checklist today, a summed-up version of everything within this article. To make the shipping process even easier for you, partner with FreightCenter to help guide you through the LTL shipping process. With expert agents who can find personalized solutions for your small business shipping and supply chain needs, a strong network of carriers, and robust transportation management software (TMS). We’re everything you need in one place; we’re the go-to 3PL for shippers everywhere.
Start by getting a free quote, or call 800.716.7608 today.
